A2Z Migrations for OST to PST
Export As PST
Convert or repair the OST file to PST
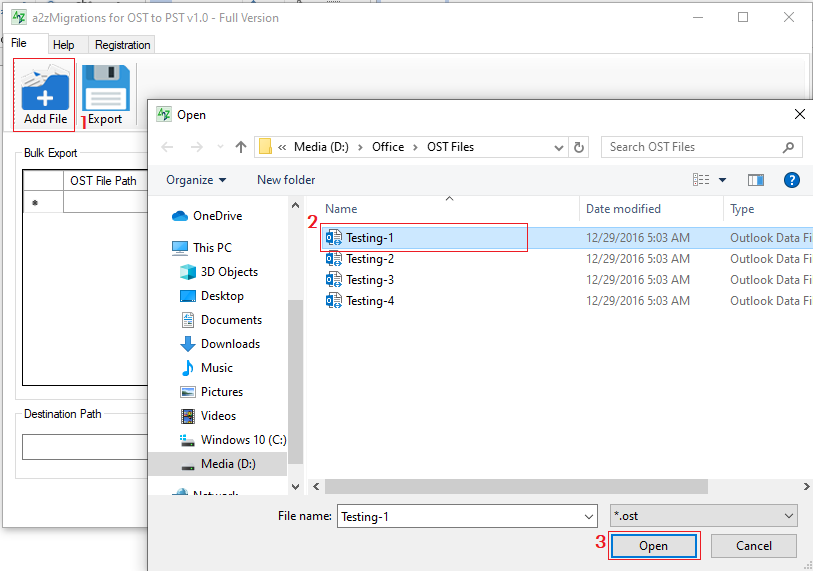
First launch the A2Z Migrations for OST to PST software. After that you need to go to the Add File option and choose the Outlook OST >> Open.
You can export your Outlook OST to PST in two ways:
Without Preview or direct method
Without Preview or direct method
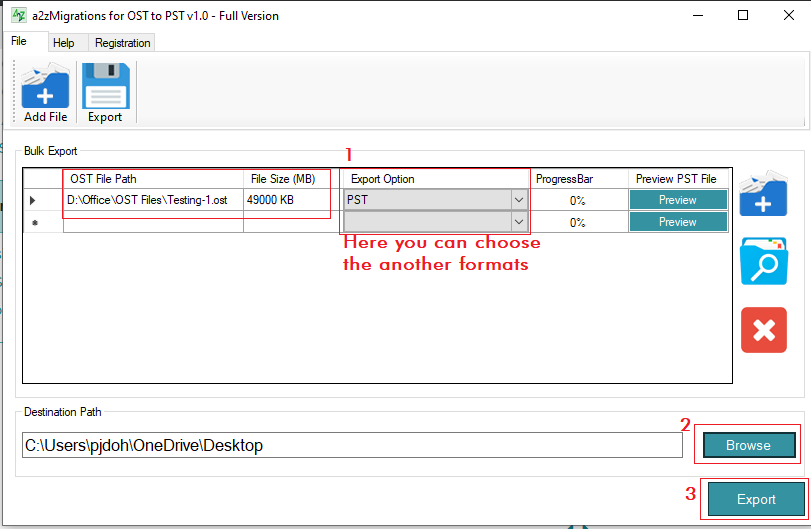
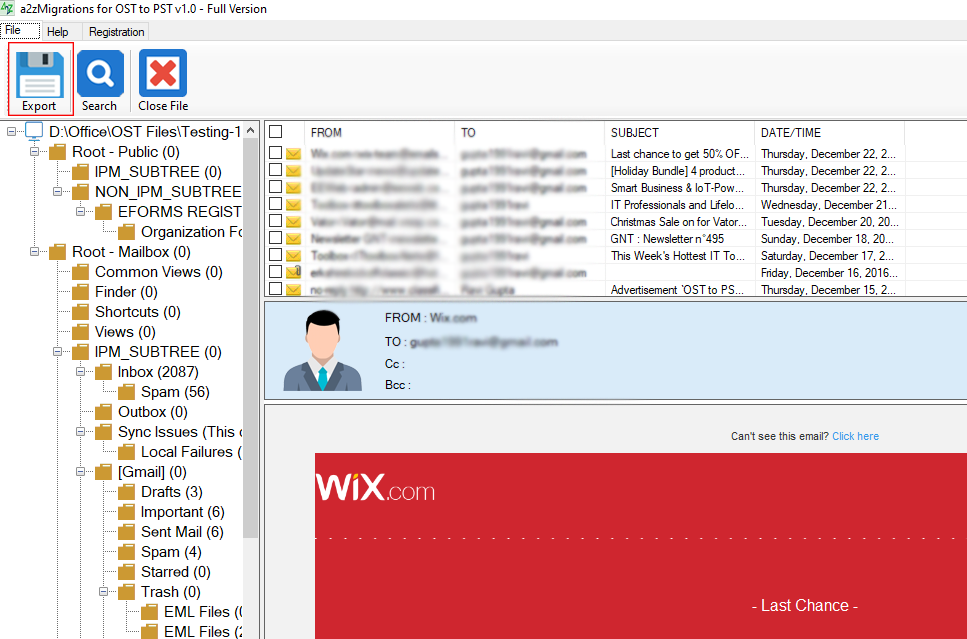
Once the OST file add, you can see the File Size in MB or the PST format in the Export Option the by default >> Browse the Destination location where you save that converted file and at the end click on Export Button.
Note: But if you want to export the OST into another format you can choose the Export option by this drop-down list.
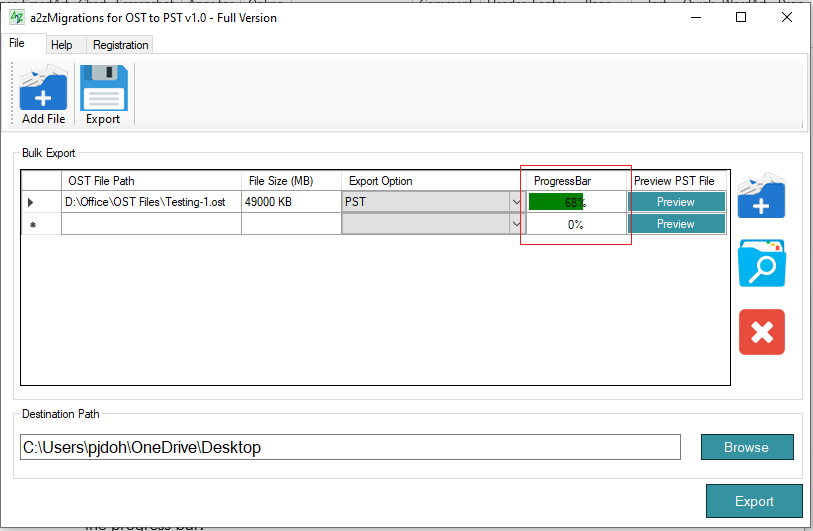
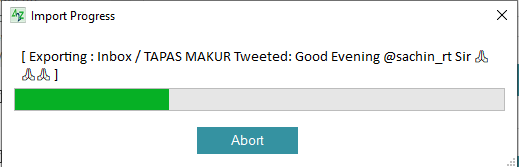
After clicking on export, the OST to PST conversion will start or you can see the status on the Progress Bar.
With showing the Preview
If you want to convert the OST file data to PST after showing the preview then you need to click on Preview button after adding the OST.
Once you click on Preview you will get the all the OST data in front of you with all attachments or folders. After getting the preview click on Export option.
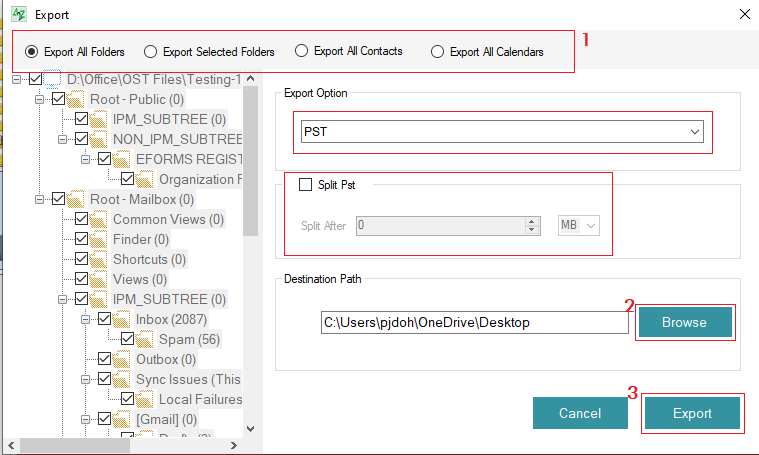
Now an export window will be appear on the screen. Here you will get multiple options like Export All Folders, Selected Folders All Contacts and Calendars. You just need to choose one of them as per your choice. Browse the destination location where you want to download the exported file >> Export.
Note: If you have a Big OST file and want to segment into small PSTs then you need to check the split option and provide the size.
Once you click on Export the OST to PST conversion process will start.
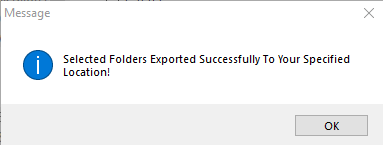
When the process finished you will get the confirmation message.