A2Z Migrations for PST to Office 365
Export Without Impersonation
Import Bulk PST to o365 Without Impersonation
Step 1: First launch the A2Z Migrations for PST to Office 365 software. After that you need to go to the Add File option and choose the Without Impersonationoption under the Bulk Migrations.
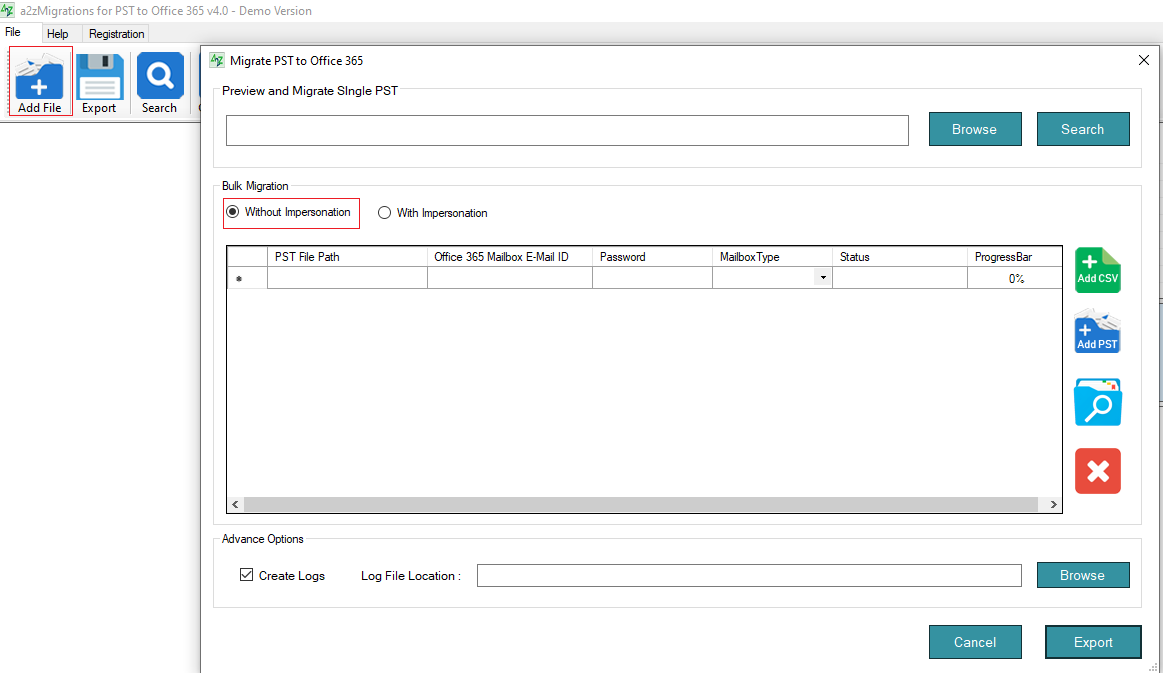
Note: Here you can use two methors for adding the multiple PSTs:
Add PST Without uploading CSV
In this feature you can simply add the PST by clicking on Add File. And then type the Office 365 Mailbox & Password >> select Mialbox Type. After that Browse the location to save the Log File >> Click Export.
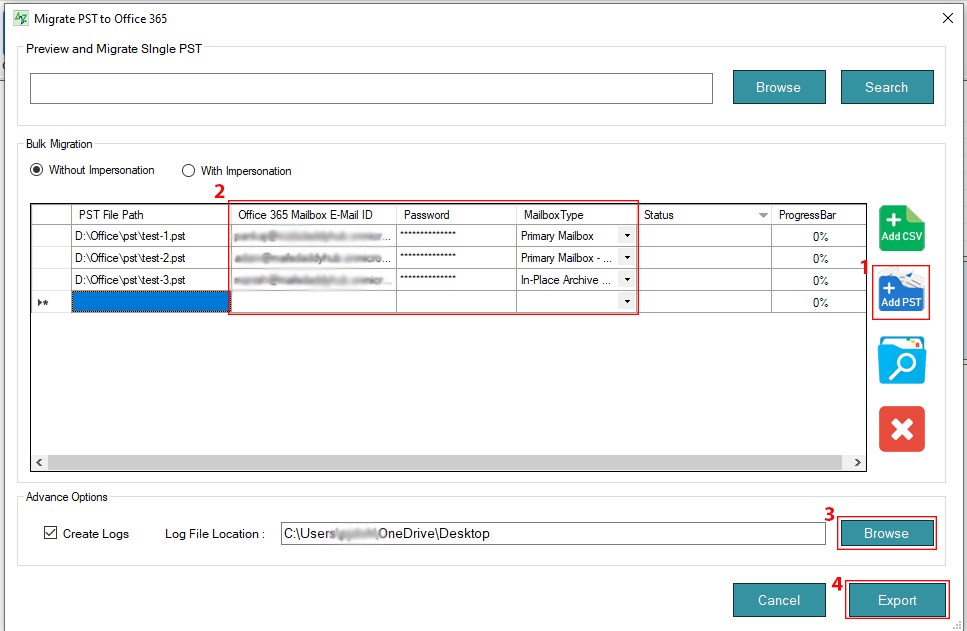
Note: If you select the In-Place Archive in Mailbox type option, so first you need to verify that the In-Place Archive enable for the user account. But if the online Archiving is disabled for the mailbox accout, then first Enable it.
Add the multiple PSTs by browsing the CSV file
In the process you need to create a CSV file like this:
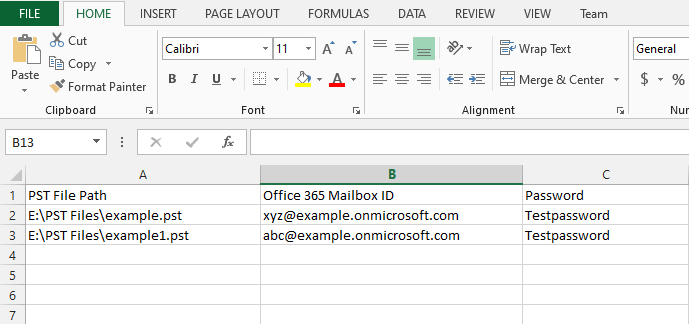
After creating the CSV click the Add CSV oprion and Browse the CSV. Once it upload you can see that all the details will automatically fill and then Browse the location to save the Log File and Click Export.
Note: In this option the Primary Mailbox Type will automatically select. But you can change it manually.
Step 2: After clicking on export, the PST to Office 365 Migration tool will verify the account once it verified the PST to o365 conversion start and you can see the details in Status Bar or Progress Bar.
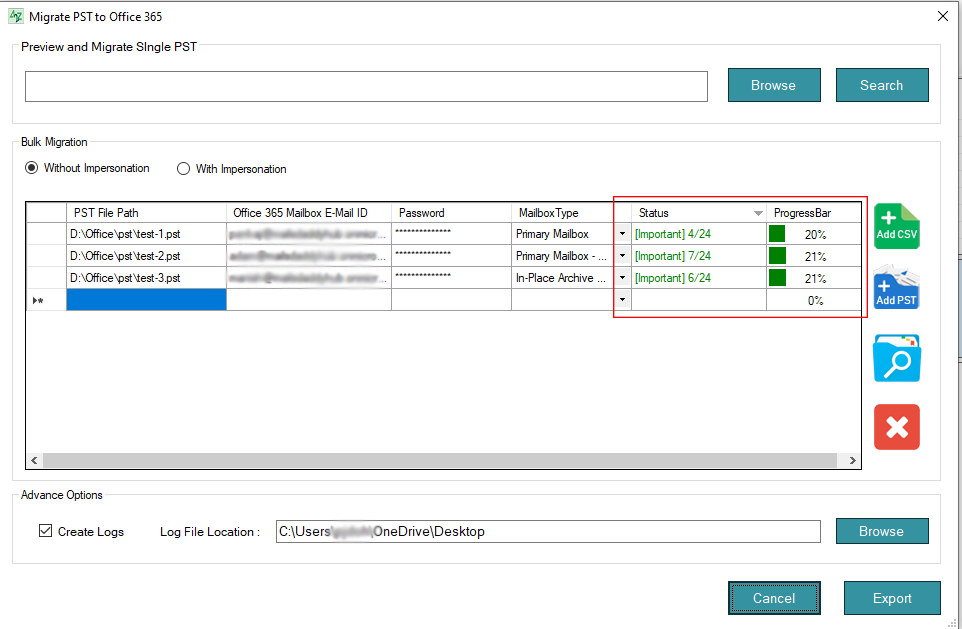
Step 3 Once the Office 365 process from PST is successfully completed, you will find the message in the status bar. Now close the application.